说明
本文档按照实验楼–Go 并发服务器框架 Zinx 入门的文档同步学习记录(大部分内容相同)
https://www.lanqiao.cn/courses/1639
主要有以下原因:
1、模仿大神写教程的风格
2、验证每一个步骤,而不是简简单单的复制教程中的代码。简单重现
实验介绍
本节我们将实现 zinx 最终的功能,链接属性配置。
知识点
链接配置
准备工作
现在当我们在使用链接处理的时候,希望和链接绑定一些用户的数据,或者参数。那么我们现在可以把当前链接设定一些传递参数的接口或者方法。
给链接添加链接配置接口
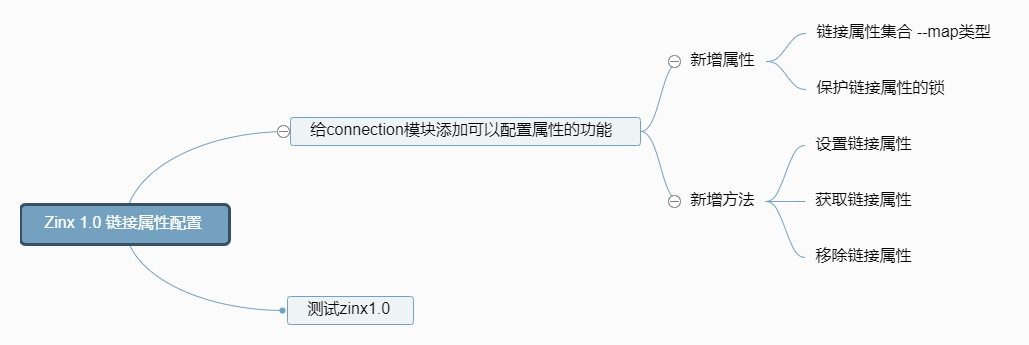
我们需要在 IConnection 接口中添加三个方法,分别对应我们开篇图片中对应的三个功能:
zinx/ziface/iconnection.go
1
2
3
4
5
6
|
SetProperty(key string, value interface{})
GetProperty(key string)(interface{}, error)
RemoveProperty(key string)
|
这里增添了 3 个方法SetProperty(),GetProperty(),RemoveProperty().那么 property 是什么类型的呢,我么接下来看看 Connection 的定义。
链接属性方法实现
这里,我们需要定义 property 的类型,其实是很容易想到的,他应该是一个集合类型,因为链接属性应该是唯一的。同时,我们为了保护链接属性的并发安全性能,还需要对其加上一个锁,所以,修正后的代码如下:
zinx/znet/connction.go
1
2
3
4
5
6
7
8
9
10
11
12
13
14
15
16
17
18
19
20
21
22
23
24
25
26
27
28
29
30
31
32
33
34
35
36
37
38
39
40
41
42
43
44
45
46
47
48
49
50
51
52
53
54
55
56
57
58
59
60
61
62
63
64
65
66
67
|
type Connection struct {
TcpServer ziface.IServer
Conn *net.TCPConn
ConnID uint32
isClosed bool
MsgHandler ziface.IMsgHandle
ExitBuffChan chan bool
msgChan chan []byte
msgBuffChan chan []byte
property map[string]interface{}
propertyLock sync.RWMutex
}
func NewConntion(server ziface.IServer, conn *net.TCPConn, connID uint32, msgHandler ziface.IMsgHandle) *Connection {
c := &Connection{
TcpServer: server,
Conn: conn,
ConnID: connID,
isClosed: false,
MsgHandler: msgHandler,
ExitBuffChan: make(chan bool, 1),
msgChan: make(chan []byte),
msgBuffChan: make(chan []byte, utils.GlobalObject.MaxMsgChanLen),
property: make(map[string]interface{}),
}
c.TcpServer.GetConnMgr().Add(c)
return c
}
func (c *Connection) SetProperty(key string, value interface{}) {
c.propertyLock.Lock()
defer c.propertyLock.Unlock()
c.property[key] = value
}
func (c *Connection) GetProperty(key string) (interface{}, error) {
c.propertyLock.RLock()
defer c.propertyLock.RUnlock()
if value, ok := c.property[key]; ok {
return value, nil
} else {
return nil, errors.New("no property found")
}
}
func (c *Connection) RemoveProperty(key string) {
c.propertyLock.Lock()
defer c.propertyLock.Unlock()
delete(c.property, key)
}
|
测试
到这里,我们 zinx 框架的全部功能就完成了。现在我们来测试一下链接属性的设置与提取是否可用:
Server.go:
1
2
3
4
5
6
7
8
9
10
11
12
13
14
15
16
17
18
19
20
21
22
23
24
25
26
27
28
29
30
31
32
33
34
35
36
37
38
39
40
41
42
43
44
45
46
47
48
49
50
51
52
53
54
55
56
57
58
59
60
61
62
63
64
65
66
67
68
69
70
| package main
import (
"fmt"
"zinx/ziface"
"zinx/znet"
)
type PingRouter struct {
znet.BaseRouter
}
func (this *PingRouter) Handle(request ziface.IRequest) {
fmt.Println("Call PingRouter Handle")
fmt.Println("recv from client : msgId=", request.GetMsgID(), ", data=", string(request.GetData()))
err := request.GetConnection().SendBuffMsg(0, []byte("ping...ping...ping"))
if err != nil {
fmt.Println(err)
}
}
type HelloZinxRouter struct {
znet.BaseRouter
}
func (this *HelloZinxRouter) Handle(request ziface.IRequest) {
fmt.Println("Call HelloZinxRouter Handle")
fmt.Println("recv from client : msgId=", request.GetMsgID(), ", data=", string(request.GetData()))
err := request.GetConnection().SendBuffMsg(1, []byte("Hello Zinx Router V0.10"))
if err != nil {
fmt.Println(err)
}
}
func DoConnectionBegin(conn ziface.IConnection) {
fmt.Println("DoConnecionBegin is Called ... ")
fmt.Println("Set conn Name, Home done!")
conn.SetProperty("Name", "Aceld")
conn.SetProperty("Home", "https://www.lanqiao.cn/courses/1639/")
err := conn.SendMsg(2, []byte("DoConnection BEGIN..."))
if err != nil {
fmt.Println(err)
}
}
func DoConnectionLost(conn ziface.IConnection) {
if name, err:= conn.GetProperty("Name"); err == nil {
fmt.Println("Conn Property Name = ", name)
}
if home, err := conn.GetProperty("Home"); err == nil {
fmt.Println("Conn Property Home = ", home)
}
fmt.Println("DoConneciotnLost is Called ... ")
}
func main() {
s := znet.NewServer()
s.SetOnConnStart(DoConnectionBegin)
s.SetOnConnStop(DoConnectionLost)
s.AddRouter(0, &PingRouter{})
s.AddRouter(1, &HelloZinxRouter{})
s.Serve()
}
|
这里主要看DoConnectionBegin()和DoConnectionLost()两个函数的实现, 利用在两个 Hook 函数中,设置链接属性和提取链接属性。链接创建之后给当前链接绑定两个属性”Name”,”Home”, 那么我们在随时可以通过conn.GetProperty()方法得到链接已经设置的属性。
我们的 Client.go 不需要修改。
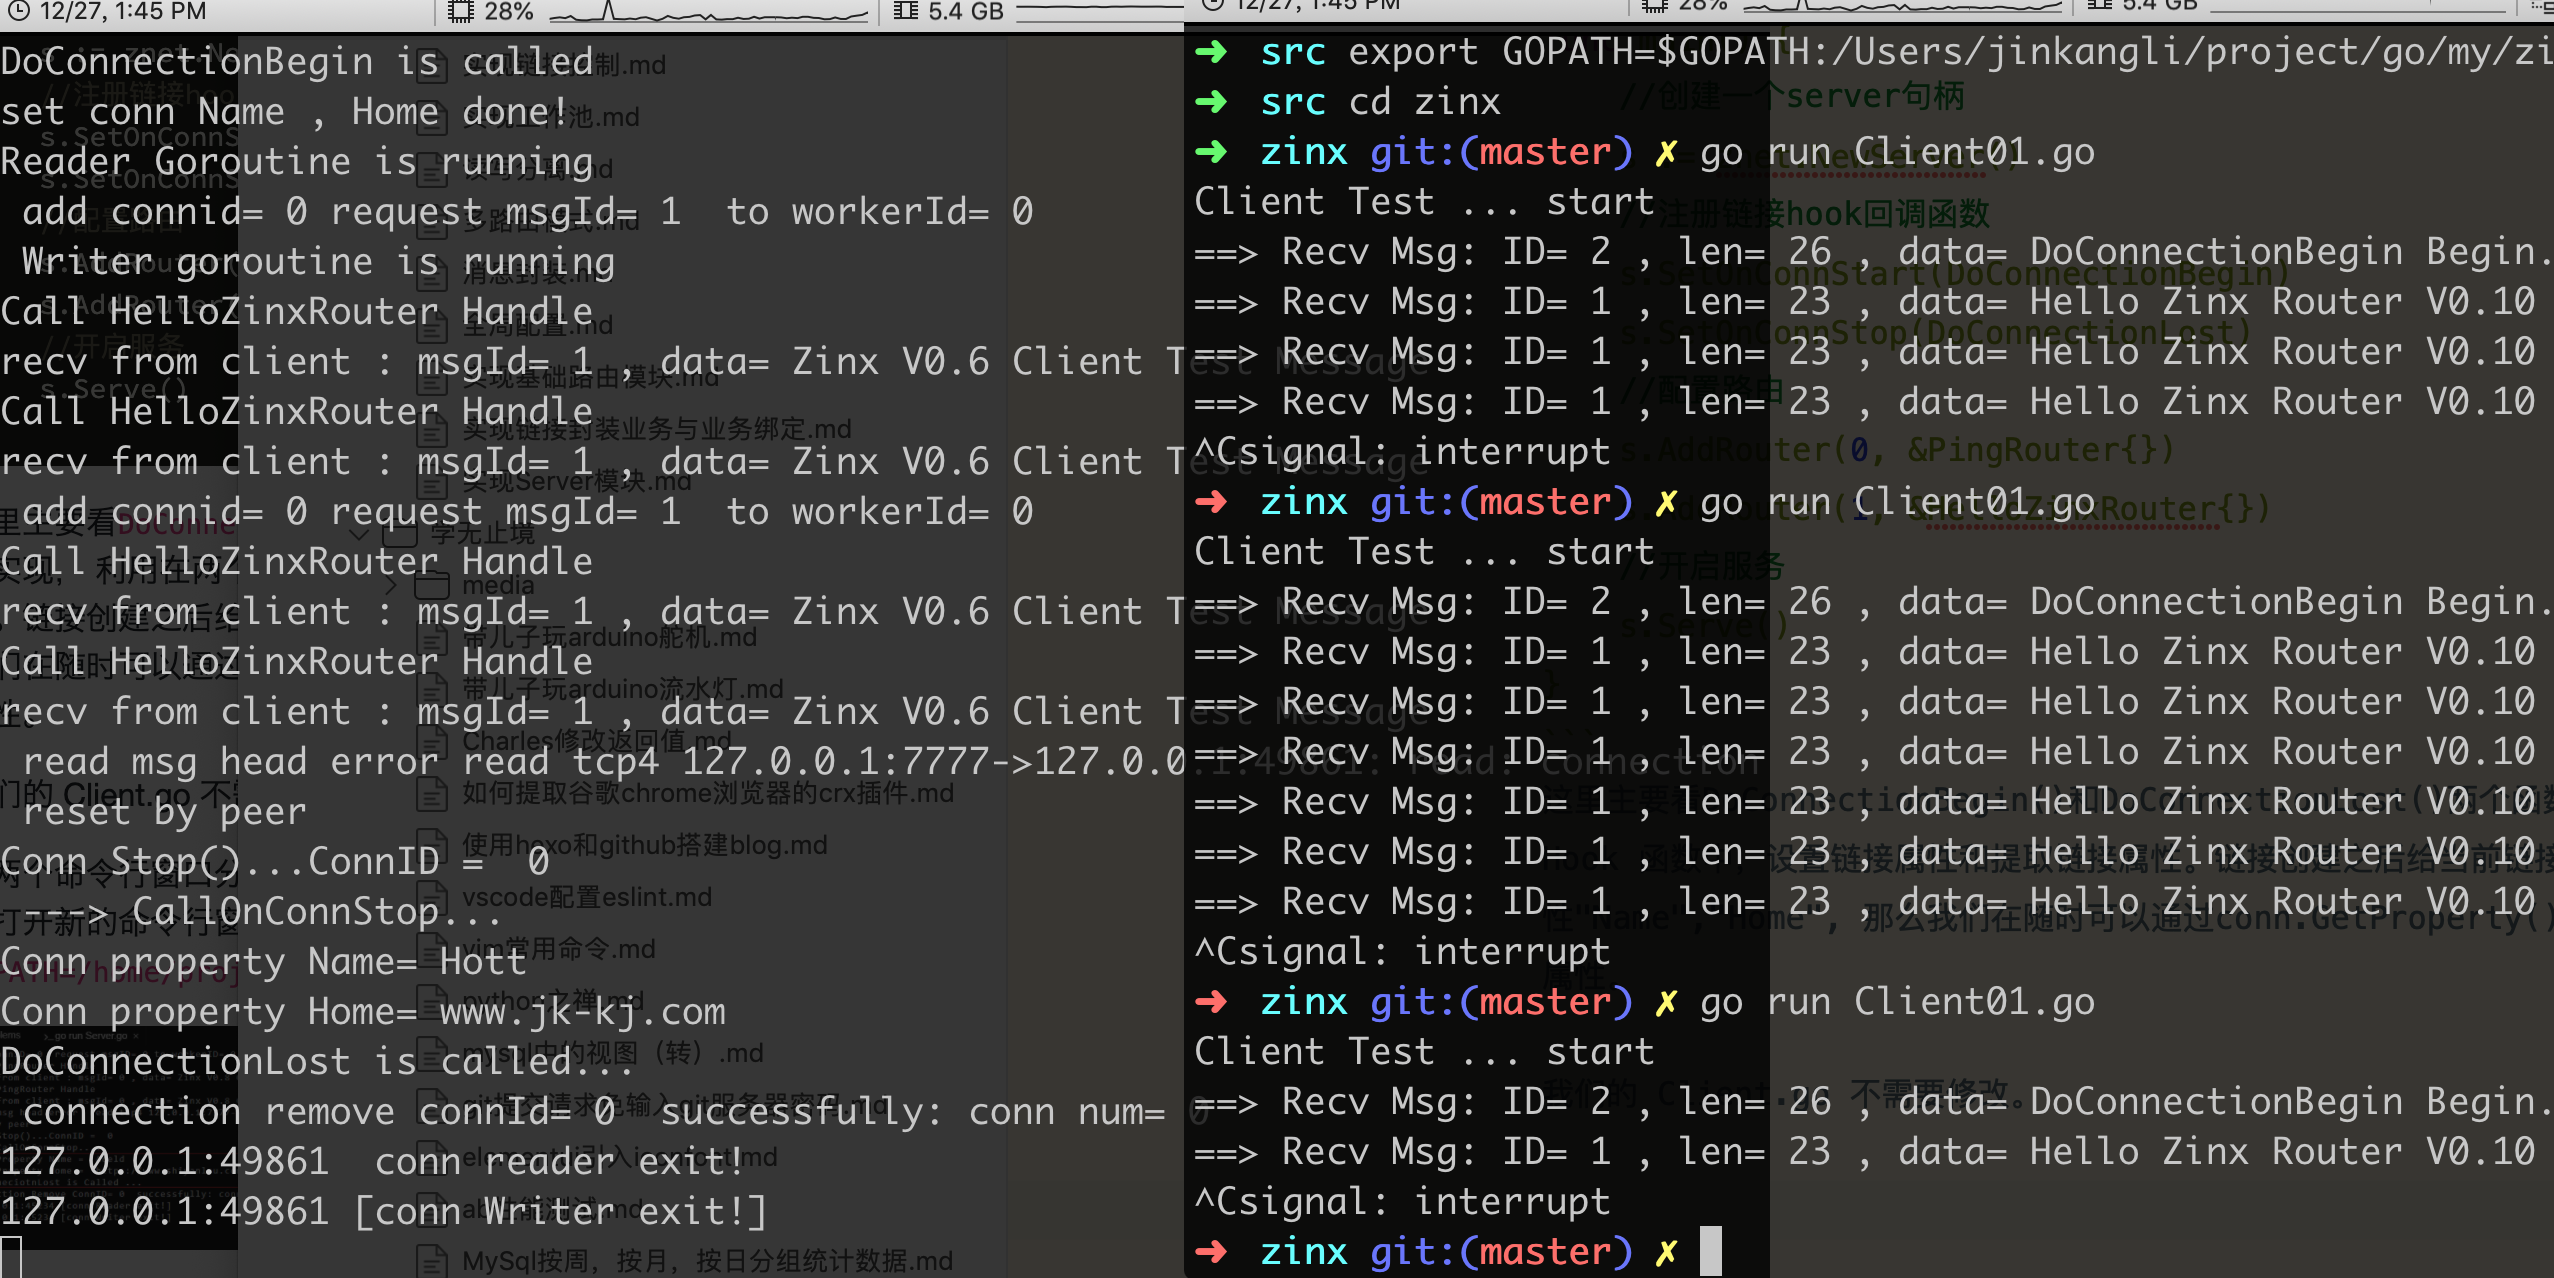
当我们终止客户端链接,那么服务端在断开链接之前,已经读取到了 conn 的两个属性 Name 和 Home。说明我们的代码达到了预期效果,可以对链接属性进行控制了。